Showing posts with label Environment. Show all posts

Wednesday, 18 June 2014

Lowering the Poly-count

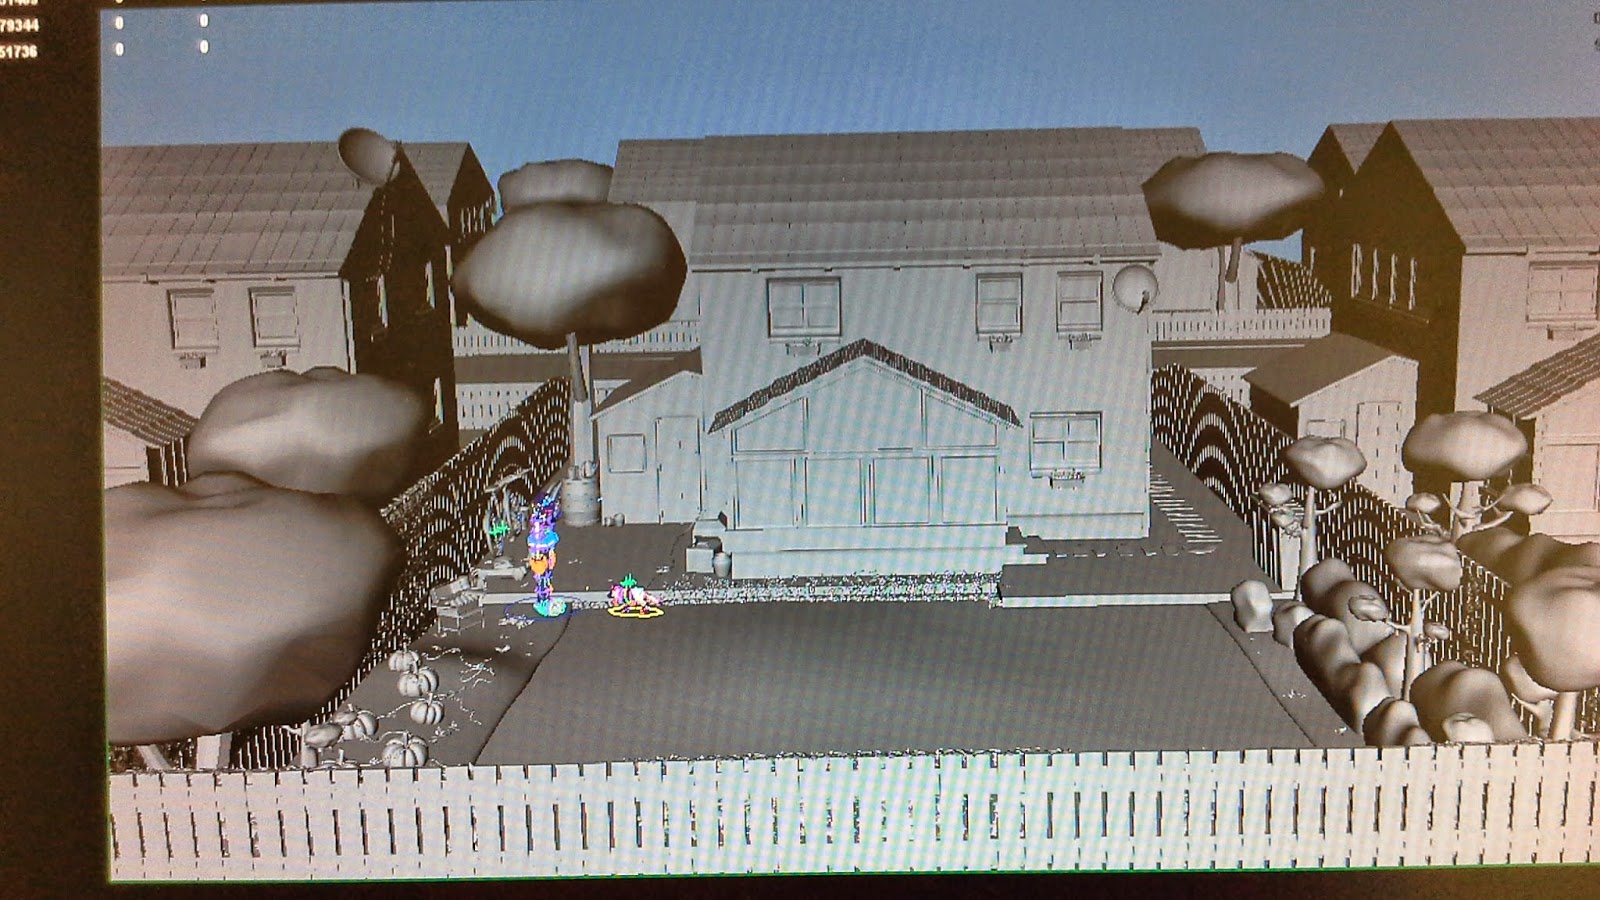
My laptop continued to crash as long as I opened the Environment Maya file. So, Lily and I decided to lower the poly count. She had a look at it and together, we saw places where we could lower it.

We decided to remove the paint effects plants(which I never liked). They had an eccentric poly-count.I replaced them these plants.


I also changed the placement of some plants to suit more to our shots.


I removed the sun over the fluffy cloud and added another cloud. The front fences were aligned. Also, the bushes looked a bit too neat. So I had to make them look haphazard.


I had forgotten to model a few of the props. The saw, hammer and the bird-feeder.


The environment is ready but because there have been so many changes. I will need to Layout the scenes again. Also, I can only proceed with the lighting only when the texturing is complete.

Tuesday, 17 June 2014

IBL Rayswitch


I think it is very important to understand sRGB and Gamma Correction tool without which the texture looks washed out with Indirect Lighting. Also, understanding decay as that makes light look realistic.

I tried setting up IBL on the environment for our film TOB. The texture is not complete yet but I needed some texture to test how they might look in the light. The current environment has way too many polygons. So, I used a minimalist environment to see if I want to use IBL for our film.

I downloaded an HDRi set from http://www.hdrlabs.com/sibl/archive.html

As soon as I set up an IBL(for indirect lighting) and a directional light(as sun), the texture got washed out. So, I gamma corrected it using the Gamma node in Hypershade.


So, the colour of the texture was restored but there was still a lot of noise. So I moved on to Rayswitch where we split the light in the environment to bring out the reflection from the sharp HDRi and also to light up the environment through the blurred HDRi.


Now,I think the light in the scene looks fine. I need to work on the shadows that look a little sharp at the moment. It looked a bit difficult when I started lighting but I think I get the hang of it now. Lets see how the entire scene looks once it is textured.


Monday, 16 June 2014

Physical Sun and Sky

I was going through the tutorial of Indirect Lighting which has two options of Physical Sun and Sky and IBL. 
I tried the Physical Sun and Sky first. I needed a scene that was textured. I had many models but none of them was textured. I found the castle that I had made for the Going Live had a shader. So, I used it for testing Indirect Lighting. 

Mental Ray Render

Physical Sun and Sky Render


Gamma Corrected Shader with Sun and Sky


Wednesday, 11 June 2014

Layout for Shot 1

Shot 1 starts with the name of the film with a few clouds in the sky. Rough

clouds were just made for the animatic. So, I modeled a few new fluffy clouds and also set up a sun.


There was a lot that needed to be added in, as it is an extreme long shot where the camera pans down to reveal the entire set where the action takes place. I added a lot of houses that could be the prospective neighbours for our Owner and her dog.


Wednesday, 28 May 2014

Tibetan Buddhist Culture

A necessary trip to the Indian Embassy at Edinburgh ended in a day-trip around the tourist spot as well. So, we went to the National Museum of Scotland. I cam across a section that was devoted to Buddhist Tibetan Culture. Since, Sheng's film is based on a love story in a Tibetan Monastery, I turned this visit into research. I took some pictures of the Prayer wheels installed there.

 After going through the description, I understood the importance of the prayer-wheel in Buddhism and its true essence.


I have already made the prayer wheels. However, i would like to remodel them to look somewhat like this. I want my models to look as realistic as possible.


This might be helpful for the texturing of the prayer-wheel.


The different details and carvings around the Prayer-wheel station that are part of the Tibetan culture. 


There was also a place where we could make a prayer-flag. I made a Prayer Flag too. Below is a video that was at the museum describing every bit that goes in the making of a Prayer-wheel and also its importance in Buddhism.


Monday, 26 May 2014

Garden


The Maya file of the environment has really become heavy now. Its difficult to move around the scene and my laptop refused to work if I tried to render it with high-resolution settings.So, here is a quick look of the complete environment.


However, after completing the environment,my main concern was the Layout of the different shots. Whether, the mise-en-scene had the appropriate props or they were hidden from view. So, after a discussion with Lilly it was finalised that she would upload the animatic shots and I would Layout each shot to maintain screen aesthetic. 

Friday, 23 May 2014

Pumpkin Patch

After a lot of discussion, we decided to include the pumpkin patch in the environment because we needed to fill in the space near the shed area with some plants. It was not only easier to add pumpkins and fill in the space but it matched the autumn-winter look of the film.


Friday, 16 May 2014

Garden Modelling


Since, I planned to leave early as we have the opening of the Undergrad Degree show today, I managed to model the hose pipe and the pumpkin patch only. I also made some minor changes like resizing props or readjusting their placement.

Wednesday, 14 May 2014

Adding Props to the Environment

I sent over the last update of the environment of our film to John H. I always look up to him for his suggestions. He started laughing as I had placed two satellites on the roof. So, I sifted one to the house on the left. Then, he also adviced the buildings might not have the satellite on the roof but around some window maybe. So, I shifted that too. I even changed the roof of the main building.

It is very important for our film that the house looks as British as possible.

I have added a few carton boxes,guttering, a Bar-be-Que table and wheelie-bins today. However, after this render, I felt that the bar-be-que table looks a little large and the wheelie bins a tad too small. I will resize them tomorrow. 

I also intend to start some foliage building tomorrow.


Tuesday, 13 May 2014

Prop Building

After John H.'s suggestion and Lilly's confirmation today I started building some of the props.

I improvised on their suggestions and built some other stuff on my discretion. I started with the satellite. Then I built the keggel, cans, watering-cans, bicycle, extra tyres, lawn mower, rakes, unused flower pots and bucket.

I have placed them arbitrarily. However,their placement finally depends on the camera angle which will be finalised after the 3D animatic.


All my team-mates are very happy to see the clutter around the shed area.


Friday, 9 May 2014

Environment Modeling

Sheng's Concept Art

Sheng had given me a basic outline for the environment. I started improvising on it. After a few hours of struggle I decided that it would be faster to model afresh rather than struggle with the already existing models. I started with the fences.


Lilly's House Images

Then, I made the main house and its windows.Basically; I continued modelling on Sheng’s concept and Lilly’s house references. I modelled the foliage basket at the windows and a window sill for each window.
The sides of the house looked suffocating because of no windows at the sides. I modeled some on each side. The patio was freshly modeled with a door and stairs as its side exit to the backyard where the action takes place.

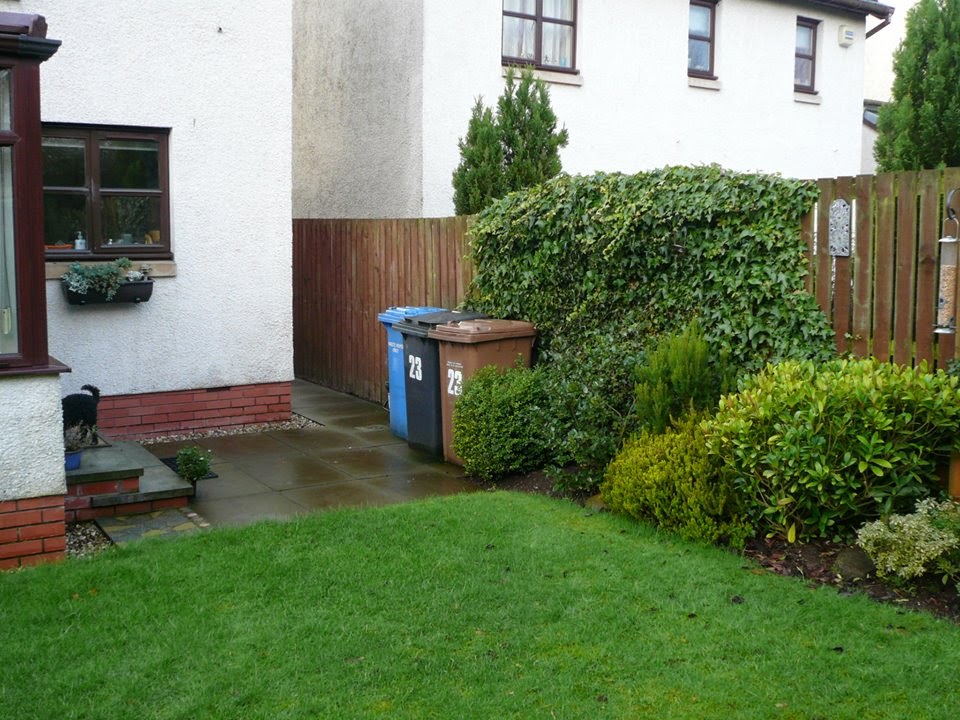
Sheng\s stepping stones and dustbins were perfectly modeled. I just imported them into this new file. Even the trees looked fine. They were imported too.

I uploaded a ‘first look’ images on our shared group to get some feedbacks. I got some good replies from my peers.


I am currently working on the props near the shed area as can be seen in the discussion above. I have searched for some reference images online and I am trying to incorporate what is important and leaving out any detail that might be irrelevant.


Tuesday, 6 May 2014

Prayer-wheel


Sheng's Concept Art

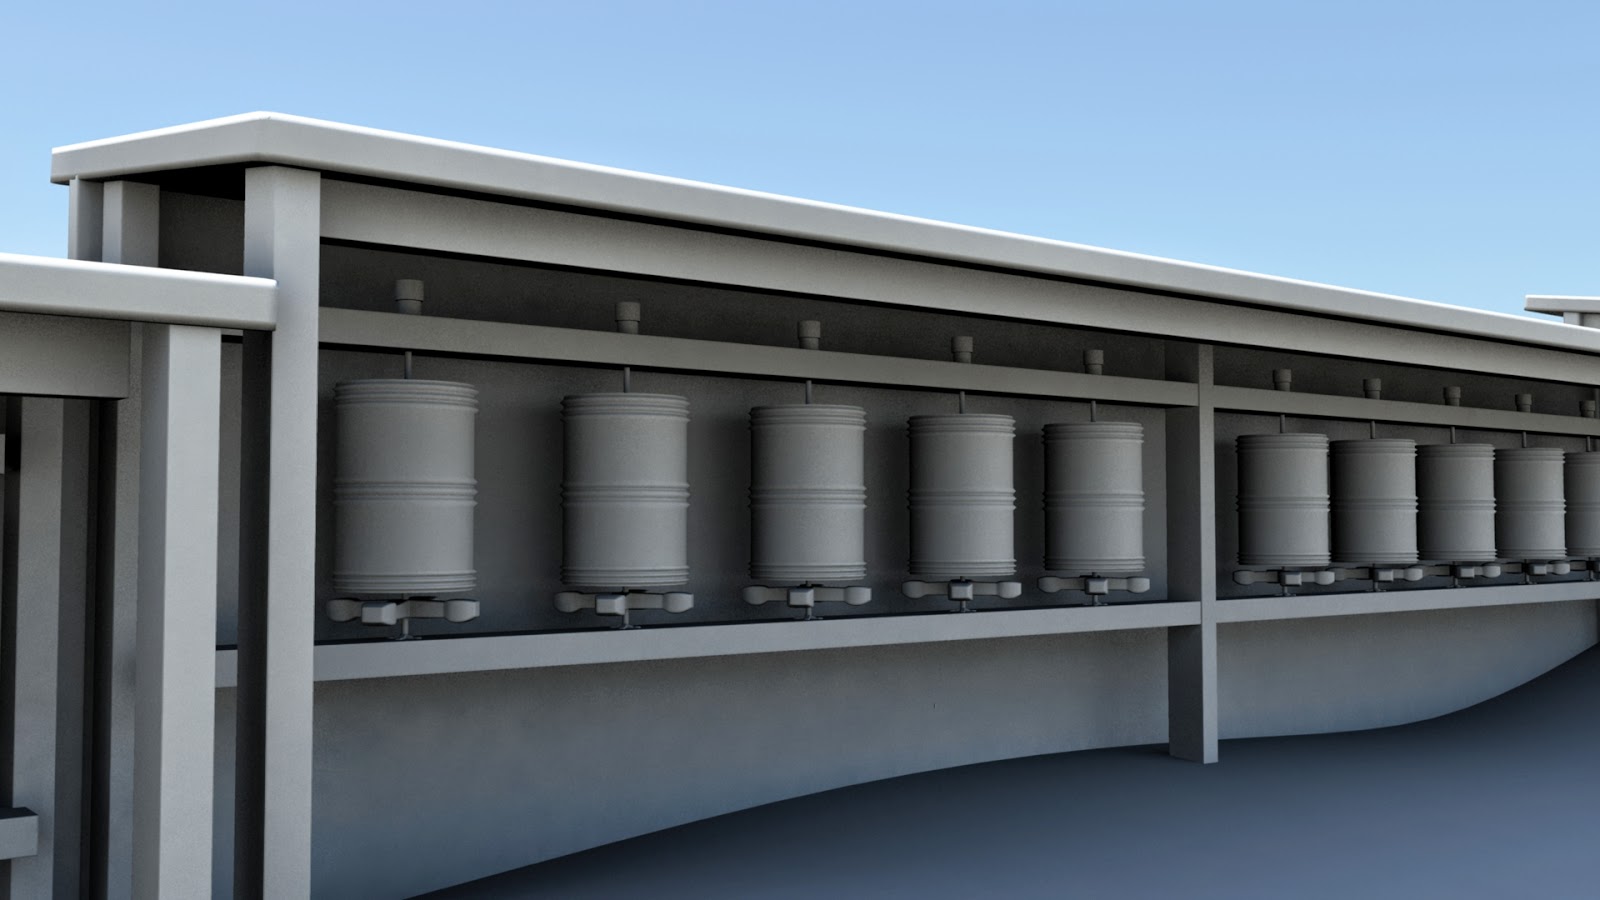
Sheng wanted a second set of prayer wheels that were different from the ones that I had made earlier. So, based on her concept and reference images I modeled this new Prayer- wheel station.


Reference Image


Thursday, 24 April 2014

Environment Modeling Checks

Sheng had started modelling the 3D Environment. She was having some trouble with the different props and basic modelling so she asked me to have a check through the objects that she has already made.


Sheng's Modelling

The first problem I could see was that the polygons weren’t given the extra edge. So, when I smoothened them, they deformed badly. I think it is necessary to give it extra edges and smoothen for a proper look. When the lighting set up is completely the polygons would still look flat without giving any edge definition to the surfaces.


Secondly, the patio was modelled separately and the window pieces were placed around it. I think while texturing this would have posed as a problem.


Then, the edges didn’t meet along the mesh. In order, to have more edges to smoothen the final result it was important that the topology be maintained throughout.


The windows were simple and needed extra edges along ends. When smoothened they would have rounded off.


Thus, with Lilly and Sheng’s blessings I have taken over the environment modelling for our project.

Friday, 28 March 2014

Town Layout

The second scene overlooks the town on which the eagle transformed dragon hovers. The castle was modeled by me but the town was modeled by John H. However, I had strip them down and make it twisted and old like the castle. Also,look a lot more papery.

 Then, I organised them around the space to look more like a town. Placed my beloved trees around. Even placed a few houses a little far to make it look like a receding town. Then as the dragon moves forward some trees were put on the barren landscape.


Monday, 24 March 2014

Editing Dwarf Houses

John H. Had created the dwarf towns. However, I had to strip them down and remake some parts of it to make it look more papery. They were also very perfect like my previously modeled castle. So, I had tweak them here and there to make them look old and withered. Further, some houses were clustered and that took away the papery-ness of the scene, so I had to de-cluster them and make more befitting our vision.


John H. town

 Changed